Figuring out how to build and deploy an electron app is a bit daunting at first. Fortunately, the process turns out to be fairly simple once you understand the process and have a few good resources on hand. This post is meant to serve as a guide to my future self, as well as anyone else out there who needs a resource on how to set up an automated build process for an electron app.
The first issue you most likely want to resolve is the unknown developer privacy alert from apple. In order to do this, you will need to sign your app.
Table of Contents
Code Signing
The code signing process is really simple with
electron-builder. After paying your
$100 toll to Apple, you should be able to create some certificates in XCode. Go
to Preferences > Accounts > Manage Certificates. Click the plus in the bottom
left and add each type of certificate. I don’t think I needed to download all
of them, but I didn’t want to miss one and have to come back after I’ve
forgotten this process.
Locally, you should be able to sign your app by running your electron builder
command (electron-builder) and your app will be signed. Check the logs to
verify you’re not receiving any errors.
To get code signing working in a Github Action, your certificates will need to
be exported. To export your certificates, open keychain and select each
certificate. Right click and export to a .p12 file. Set a strong password for
the file and save it in your password manager.
The simplest way to import these keys to your Github Action is to store them in
a secrets variable. To do this, go to the settings page of your repository and
click Secrets in the side nav. Create a new secret called CSC_LINK. The
value of this environment variable is the base64 encoded value of your .p12
file.
# Base64 encode your secrets file
openssl base64 -in apple-certs.p12 -out apple-certs.b64
Open the .b64 file, copy the contents, and paste the result into your
CSC_LINK secret on Github.
Create another secret called CSC_KEY_PASSWORD and use the password you
created as the value. At this point, all the credentials needed to sign your
app are available to your Github Action. The Github Action
section will show you how to configure them in the action.
Notarizing
Code signing is not enough on it’s own to get your app through the privacy popups–it must also be notarized. From my initial research on notarizing apps I assumed the process was akin to the approval process for submitting apps to the app store. I was wrong in thinking this. It can be done as an automated process and only takes a few minutes.
Assuming you already have XCode installed and an apple developer account, you’ll need to generate an app specific password.
With your app specific password in hand. You’ll want to create two more secrets in your repository.
Your Apple ID is now available to your Github Action and can be used to
notarize your app with electron-notarize. First, add the following line to
your package.json.
  "build": {
    ...
    "afterSign": "./afterSignHook.js"
  }
The afterSignHook.js file will take care of notarizing your app. There are a number of variations of this script floating around, I started with the version from this blog post and made a couple alterations.
require('dotenv').config();

const fs = require('fs');
const path = require('path');
var electron_notarize = require('electron-notarize');
var package = require('./package.json');

module.exports = async function (params) {
  // Only notarize the app if building for macOS and the NOTARIZE environment
  // variable is present.
  if (!process.env.NOTARIZE || process.platform !== 'darwin') {
    return
  }

  console.log('afterSign hook triggered', params);

  // This should match the appId from electron-builder. It reads from
  // package.json so you won't have to maintain two separate configurations.
  let appId = package.build.appId
  if (!appId) {
    console.error("appId is missing from build configuration 'package.json'")
  }

  let appPath = path.join(params.appOutDir, `${params.packager.appInfo.productFilename}.app`);
  if (!fs.existsSync(appPath)) {
    throw new Error(`Cannot find application at: ${appPath}`);
  }

  console.log(`Notarizing ${appId} found at ${appPath}`);

  try {
    await electron_notarize.notarize({
      appBundleId: appId,
      appPath: appPath,
      appleId: process.env.appleId,
      appleIdPassword: process.env.appleIdPassword,
    });
  } catch (error) {
    console.error(error);
  }

  console.log(`Done notarizing ${appId}`);
};
This script will run after electron-builder signs your app. It automates the notarization process which includes uploading your code to apple and waiting for a successful notarization response. The whole process only takes a few minutes. When notarization is complete, you should expect an email from apple confirming the status of your recent notarization.
To build your app and notarize it, you’ll need to execute a command that
includes the NOTARIZE env variable. It should look something like this:
NOTARIZE=true NODE_ENV=production electron-builder
Auto Updates with AWS S3
electron-builder can manage a few different strategies of auto updating your application. In order to enable this within your Github action, you must first give your action access to AWS. The AWS Cli Action makes this really simple.
All you need to do is run this uses block as your first step. This will give
all of your other steps access to the aws cli.
steps:
  # This gives your action access to the `aws` cli. Every action that
  # follows will be able  to use it
  - uses: chrislennon/[email protected]

  ... Other steps
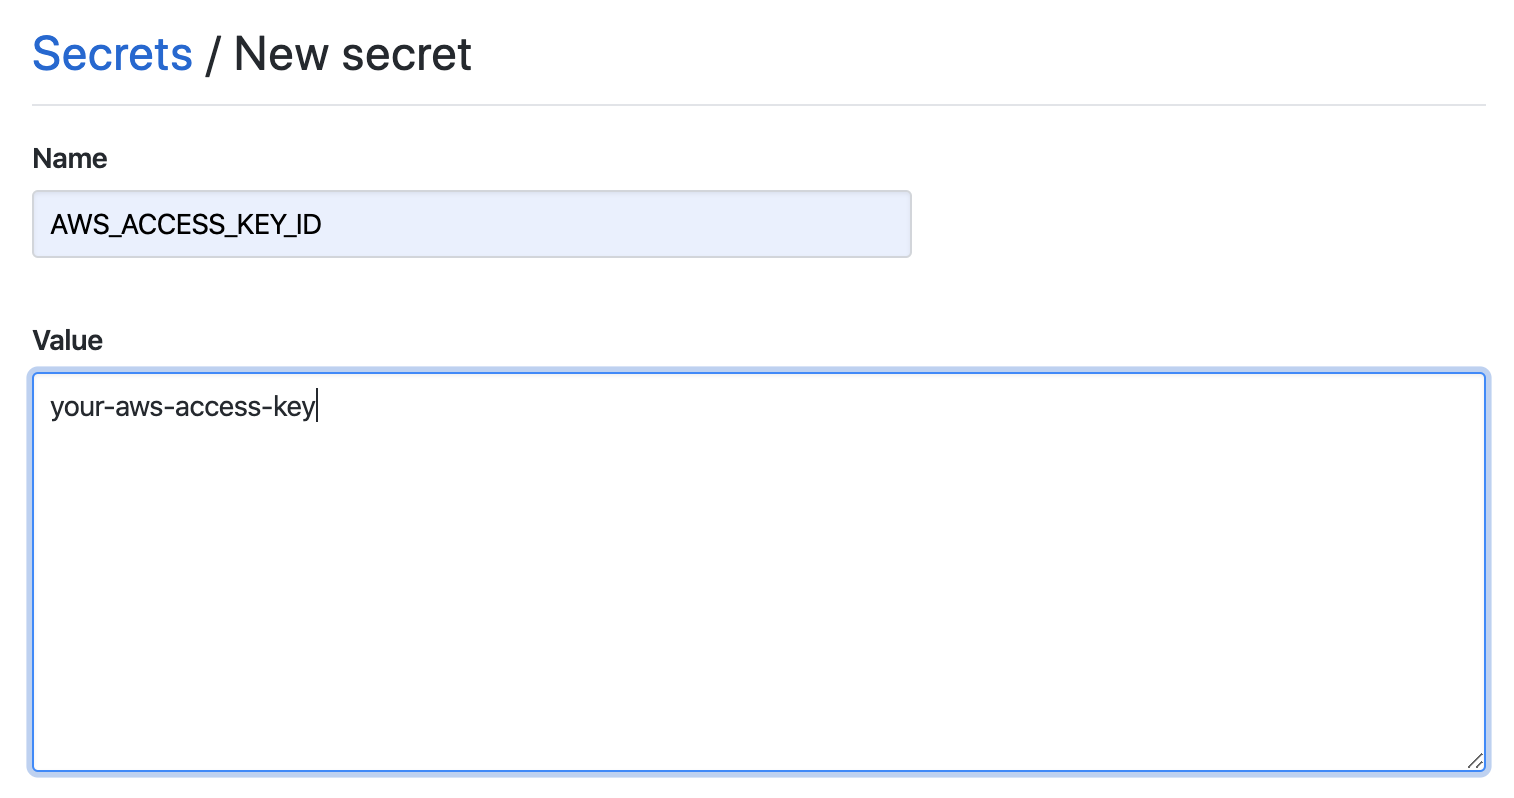
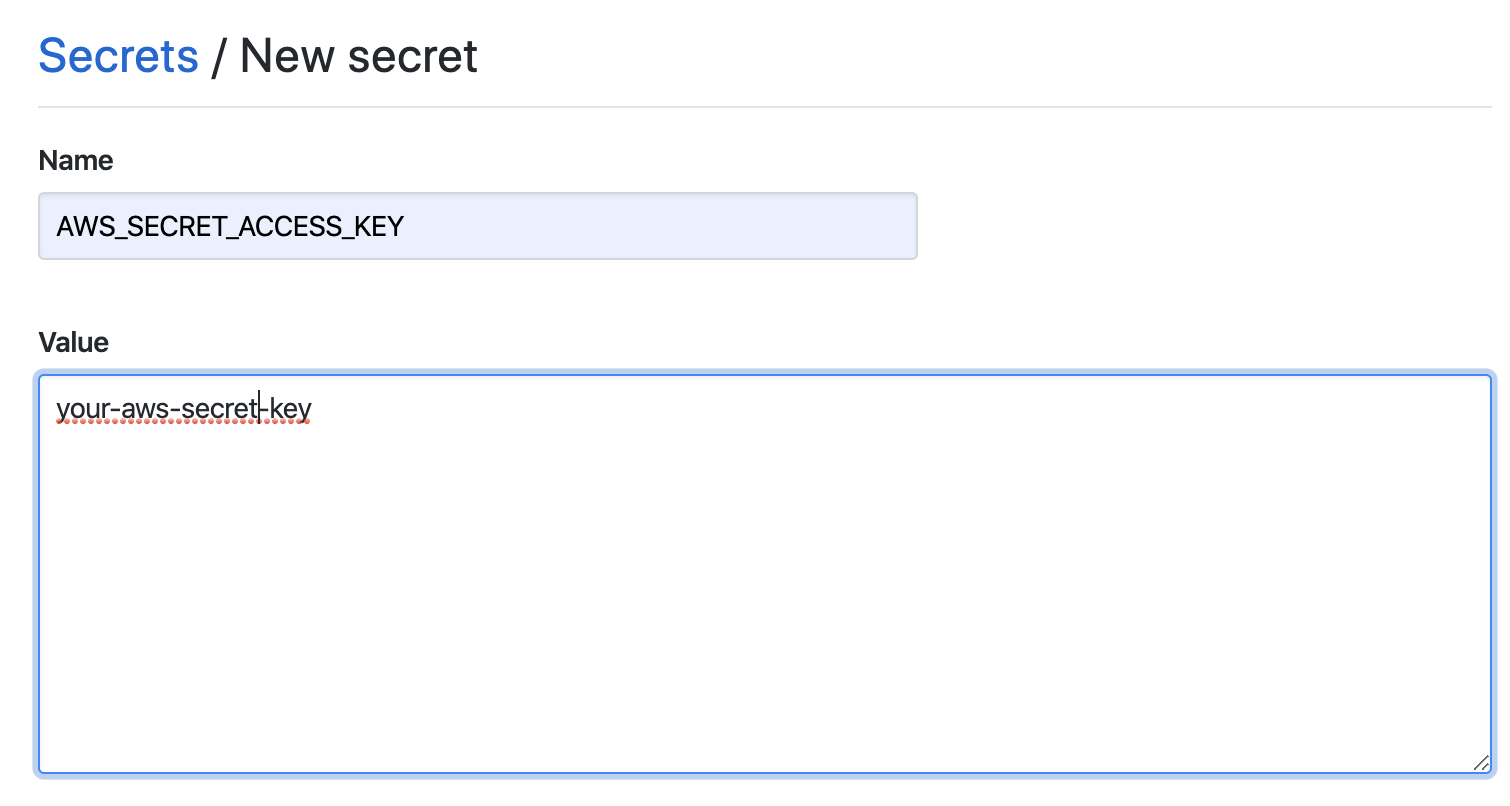
Next, you’ll need to add the AWS_ACCESS_KEY_ID and AWS_SECRET_ACCESS_KEY
secrets to your repository.
To completely set up auto updates in your app, I recommend reading through this guide.
Github Action
Now that github has access to all the accounts necessary, we can implement the Github Action to carry out the deployment process.
name: Build/release

on:
  push:
    branches:
      - master

jobs:
  release:
    runs-on: ${{ "{{ matrix.os" }} }}

    strategy:
      matrix:
        # TODO: Add linux and windows to the process
        os: [macos-latest] #, ubuntu-latest, windows-latest]

    steps:
      # This gives your action access to the `aws` cli. Every action that
      # follows will be able  to use it
      - uses: chrislennon/[email protected]

      - name: Check out Git repository
        uses: actions/checkout@v1

      - name: Install Node.js, NPM and Yarn
        uses: actions/setup-node@v1
        with:
          node-version: 13.6

      # Import Apple API key for app notarization on macOS
      - name: Prepare for app notarization
        if: startsWith(matrix.os, 'macos')
        run: |
          mkdir -p ~/private_keys/
          echo '${{ "{{ secrets.api_key" }} }}' > ~/private_keys/AuthKey_${{ "{{ secrets.api_key_id" }} }}.p8

      - name: Install yarn packages
        run: yarn install

      - name: Rebuild yarn packages
        run: yarn rebuild

      - name: Package & Deploy
        env:
          # macOS Code signing certificates
          CSC_LINK: ${{ "{{ secrets.CSC_LINK" }} }}
          CSC_KEY_PASSWORD: ${{ "{{ secrets.CSC_KEY_PASSWORD" }} }}

          # macOS notarization API key
          appleId: ${{ "{{ secrets.appleId" }} }}
          appleIdPassword: ${{ "{{ secrets.appleIdPassword" }} }}

          # AWS Credentials
          AWS_ACCESS_KEY_ID: ${{ "{{ secrets.AWS_ACCESS_KEY_ID" }} }}
          AWS_SECRET_ACCESS_KEY: ${{ "{{ secrets.AWS_SECRET_ACCESS_KEY" }} }}
        run: yarn build && yarn deploy
For reference, these are the corresponding scripts from package.json. This
Github Action currently has room for some improvement. The build process is
technically run during build and deploy. Ideally, electron-builder should
only be run once. I ran into an issue where I had some missing files in my
dist directory so I lazily ran the build command before deploying.
Eventually, I’ll update these notes with a better solution.
  "scripts": {
    "build": "cross-env NODE_ENV=production node .electron-vue/build.js && electron-builder",
    "deploy": "cross-env NOTARIZE=true NODE_ENV=production electron-builder --publish always",
    "rebuild": "./node_modules/.bin/electron-rebuild"
  },
The Github Action above is set to run every time you push to the master branch. My repository structure is loosely based on git flow. As such, I find it easiest to add features to the develop branch. When I’m ready to release a new major/minor/patch, I run the following script:
#!/bin/bash

currentVersion() {
  # Version key/value should be on his own line
  PACKAGE_VERSION=$(cat package.json \
    | grep version \
    | head -1 \
    | awk -F: '{ print $2 }' \
    | sed 's/[",]//g')

  echo $PACKAGE_VERSION
}

# Only allow releases to come from the develop branch
if [ "$(git rev-parse --abbrev-ref HEAD)" != "develop" ]; then
  echo "Deploys can only be made from the develop branch"
  exit 0
fi

# Increment the app version in package.json
if [ "$1" == "patch" ]; then
  yarn version --patch
elif [ "$1" == "minor" ]; then
  yarn version --minor
elif [ "$1" == "major" ]; then
  yarn version --major
else
  echo "Version missing (major, minor, patch)"
  exit 0
fi

# Create a release branch and push to it.
version=$(currentVersion)
branch="release-$(currentVersion)"
git checkout $branch || git checkout -b $branch
git push github $branch

# Return to the develop branch
git checkout develop
git push github develop

# List notes for what's next to finish deploying the application
echo ""
echo ""
echo "Released $version"
echo "To deploy:"
echo "  1. Merge develop into master"
echo "  2. Push to master. $version will be deployed"
echo ""
Troubleshooting
The deployment process completes but the app is a blank white screen
This probably means that the notarization process is failing. I spent too much time with difficult to trace errors just to realize I had some invalid credentials.